OIDC Authentication
OIDC authentication integrates with external identity providers like Google, Okta, Azure AD, or any OpenID Connect-compatible service.
Configuration
Add the following to your custom-values.yaml.
custom-values.yaml
auth:
  type: "oidc"

  # Admin user (required)
  admin:
    email: admin@company.com
    password: "your-secure-password"
    roles:
      - "System Admin"

  # OIDC provider configuration
  oidc:
    provider:
      # REQUIRED: OAuth2 client credentials from your OIDC provider
      clientId: "your-client-id"
      clientSecret: "your-client-secret"

      # REQUIRED: Your OIDC provider's issuer URI
      # Examples:
      #   Google: https://accounts.google.com
      #   Okta: https://dev-123456.okta.com
      #   Azure AD: https://login.microsoftonline.com/{tenant-id}/v2.0
      issuerUri: "https://accounts.google.com"

      # REQUIRED: Redirect URI after authentication
      # Must match what's registered in your OIDC provider
      # Auto-derived from ingress host if not specified
      redirectUri: "https://company.example.com/api/v1/oauth2/callback"
Issuer Configuration
The issuers field must match your actual deployment URL.
If you're deploying to https://company.example.com, use that exact URL.
The issuer is used to validate JWT tokens and must match the domain where your zymtrace gateway is accessible.
Setting Up OIDC Providers
- Okta
- Azure AD
Google Cloud Console Setup
- Go to Google Cloud Console
- Create a new project or select an existing one
- Navigate to APIs & Services → Credentials
- Click Create Credentials → OAuth 2.0 Client ID
- Select Web application
- Add authorized redirect URI:
https://company.example.com/api/v1/oauth2/callback - Copy the Client ID and Client Secret
Configuration for Google
custom-values.yaml
auth:
  type: "oidc"
  oidc:
    provider:
      clientId: "YOUR-CLIENT-ID.apps.googleusercontent.com"
      clientSecret: "GOCSPX-YOUR-CLIENT-SECRET"
      issuerUri: "https://accounts.google.com"
      redirectUri: "https://company.example.com/api/v1/oauth2/callback"
      scopes:
        - openid
        - email
        - profile
      extraParams:
        - prompt=consent
        - access_type=offline
Okta Setup
- Log in to your Okta Admin Console
- Navigate to Applications → Applications
- Click Create App Integration
- Select OIDC - OpenID Connect and Web Application
- Add sign-in redirect URI:
https://company.example.com/api/v1/oauth2/callback - Copy the Client ID and Client Secret
Configuration for Okta
custom-values.yaml
auth:
  type: "oidc"
  oidc:
    provider:
      clientId: "YOUR-OKTA-CLIENT-ID"
      clientSecret: "YOUR-OKTA-CLIENT-SECRET"
      issuerUri: "https://dev-YOUR-OKTA-DOMAIN.okta.com"
      redirectUri: "https://company.example.com/api/v1/oauth2/callback"
      scopes:
        - openid
        - email
        - profile
Azure AD Setup
- Go to Azure Portal
- Navigate to Azure Active Directory → App registrations
- Click New registration
- Add redirect URI:
https://company.example.com/api/v1/oauth2/callback - Go to Certificates & secrets → Create a new client secret
- Copy the Application (client) ID and Client Secret
Configuration for Azure AD
custom-values.yaml
auth:
  type: "oidc"
  oidc:
    provider:
      clientId: "YOUR-APPLICATION-CLIENT-ID"
      clientSecret: "YOUR-CLIENT-SECRET"
      issuerUri: "https://login.microsoftonline.com/YOUR-TENANT-ID/v2.0"
      redirectUri: "https://company.example.com/api/v1/oauth2/callback"
      scopes:
        - openid
        - email
        - profile
Deployment
Deploy your backend with the OIDC configuration:
helm upgrade --install backend zymtrace/backend \
  --namespace zymtrace \
  -f custom-values.yaml \
  --debug \
  --atomic
Accessing the System
- Navigate to your zymtrace URL:
https://zymtrace.company.com - Click the OIDC login button
- Authenticate through your OIDC provider
- You'll be redirected back to zymtrace
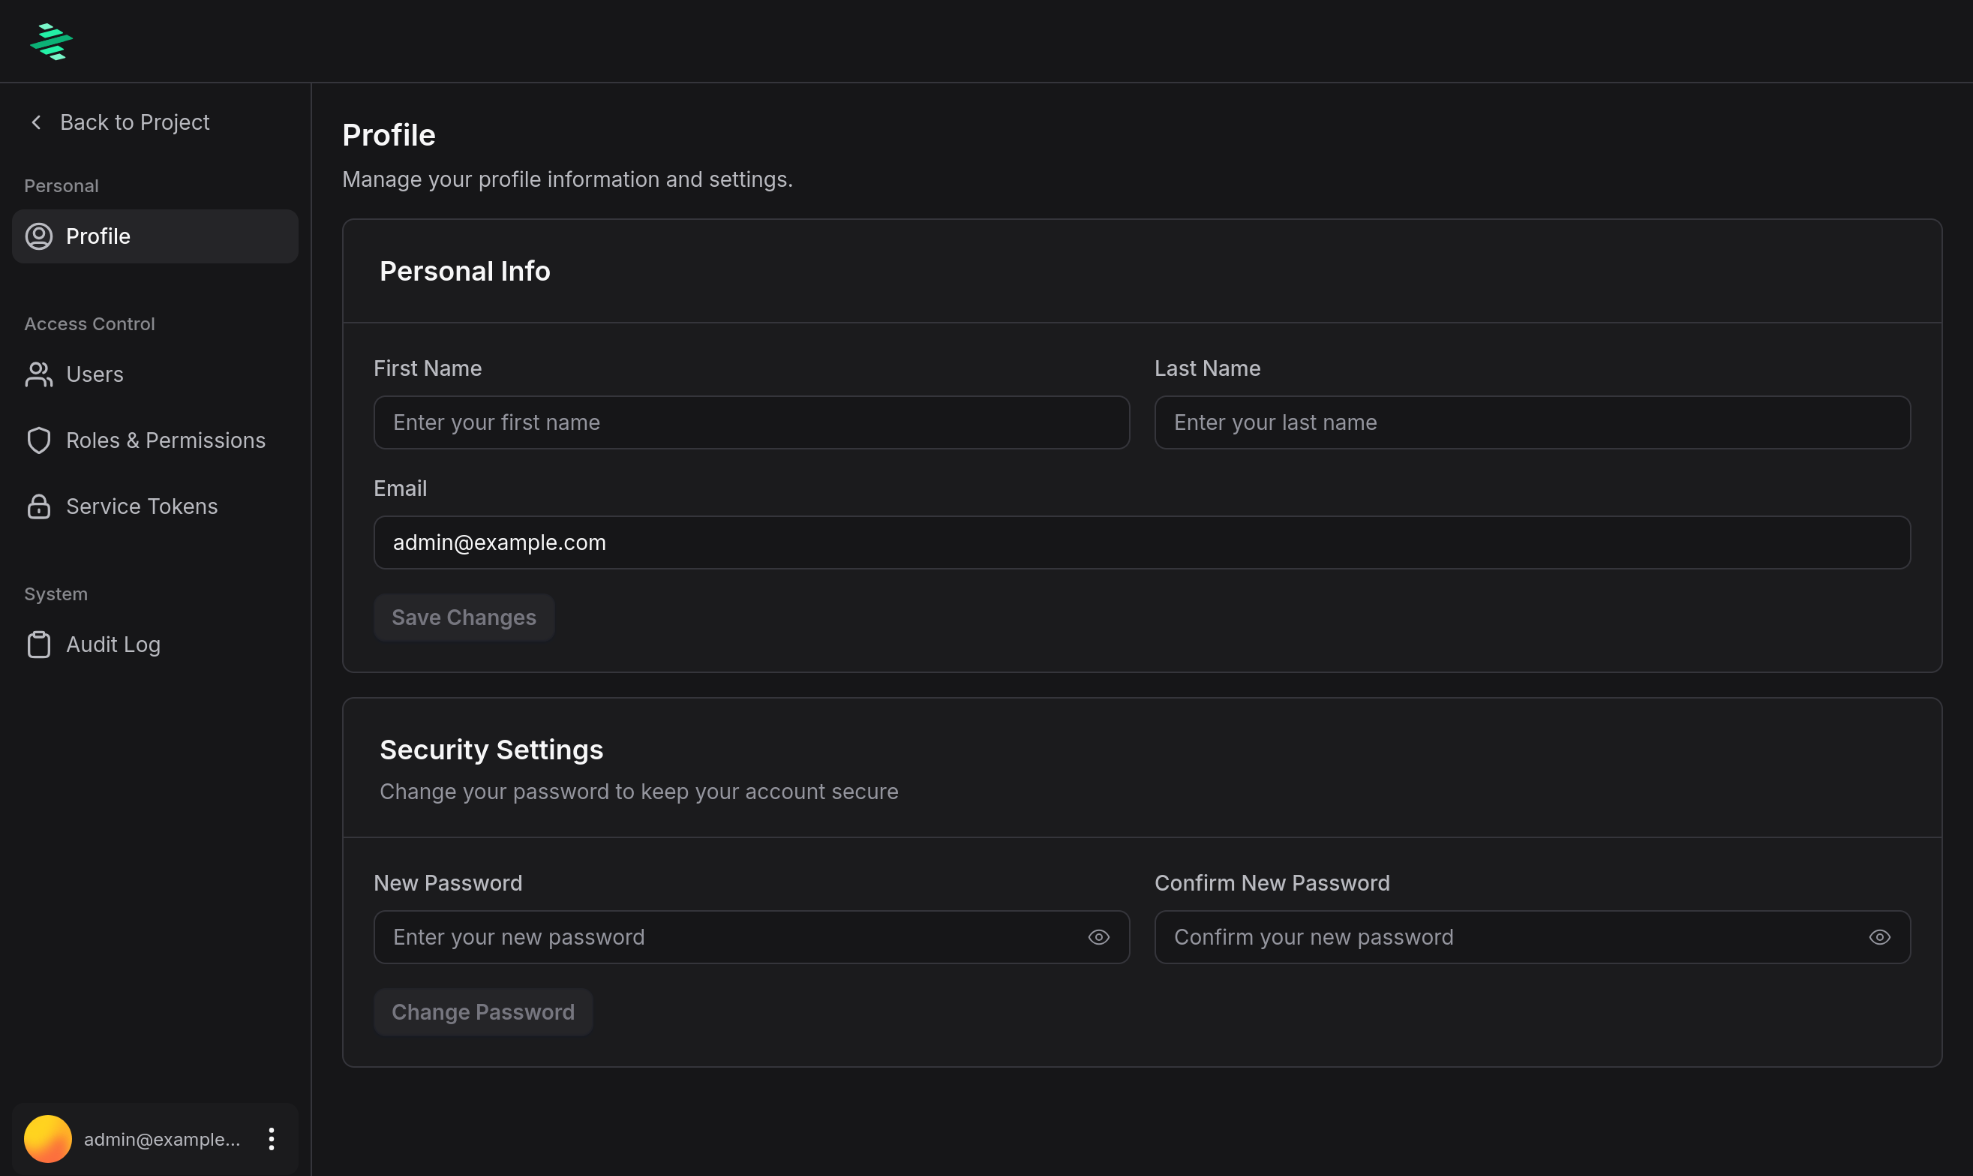
Once authenticated, you can access your profile and account settings:
Advanced Configuration
For cookie settings and token validation options, see the advanced configuration guide.